Thursday, June 30, 2011

How I miss margarita Mondays!

Last Monday I was sitting at work thinking about how I have not been out for a Margarita Monday in so long! Well, something had to be done here so instead of just going out to eat and getting a mega margarita, I decided to make some strawberry margarita cupcakes! Hey, you would do the same thing!

So I found an interesting recipe that really included tequila in it, yes!!!

Here we go!!!

For the cupcakes:
3 cups cake flour
1/2 tsp salt
1 tsp baking powder
1/2 tsp baking soda
1 cup unsalted butter, room temperature
1 cup sugar
1/2 cup margarita mix
2 tbsp lime juice
1 tsp lime zest ( I did not use this, could have been the killer for me!)
5 tbsp strawberry preserves
1/3 cup tequila
3 eggs
1/2 cup milk

Preheat oven to 350 degrees. Line 24 muffin cups with paper liners. (Make them festive liners) :)

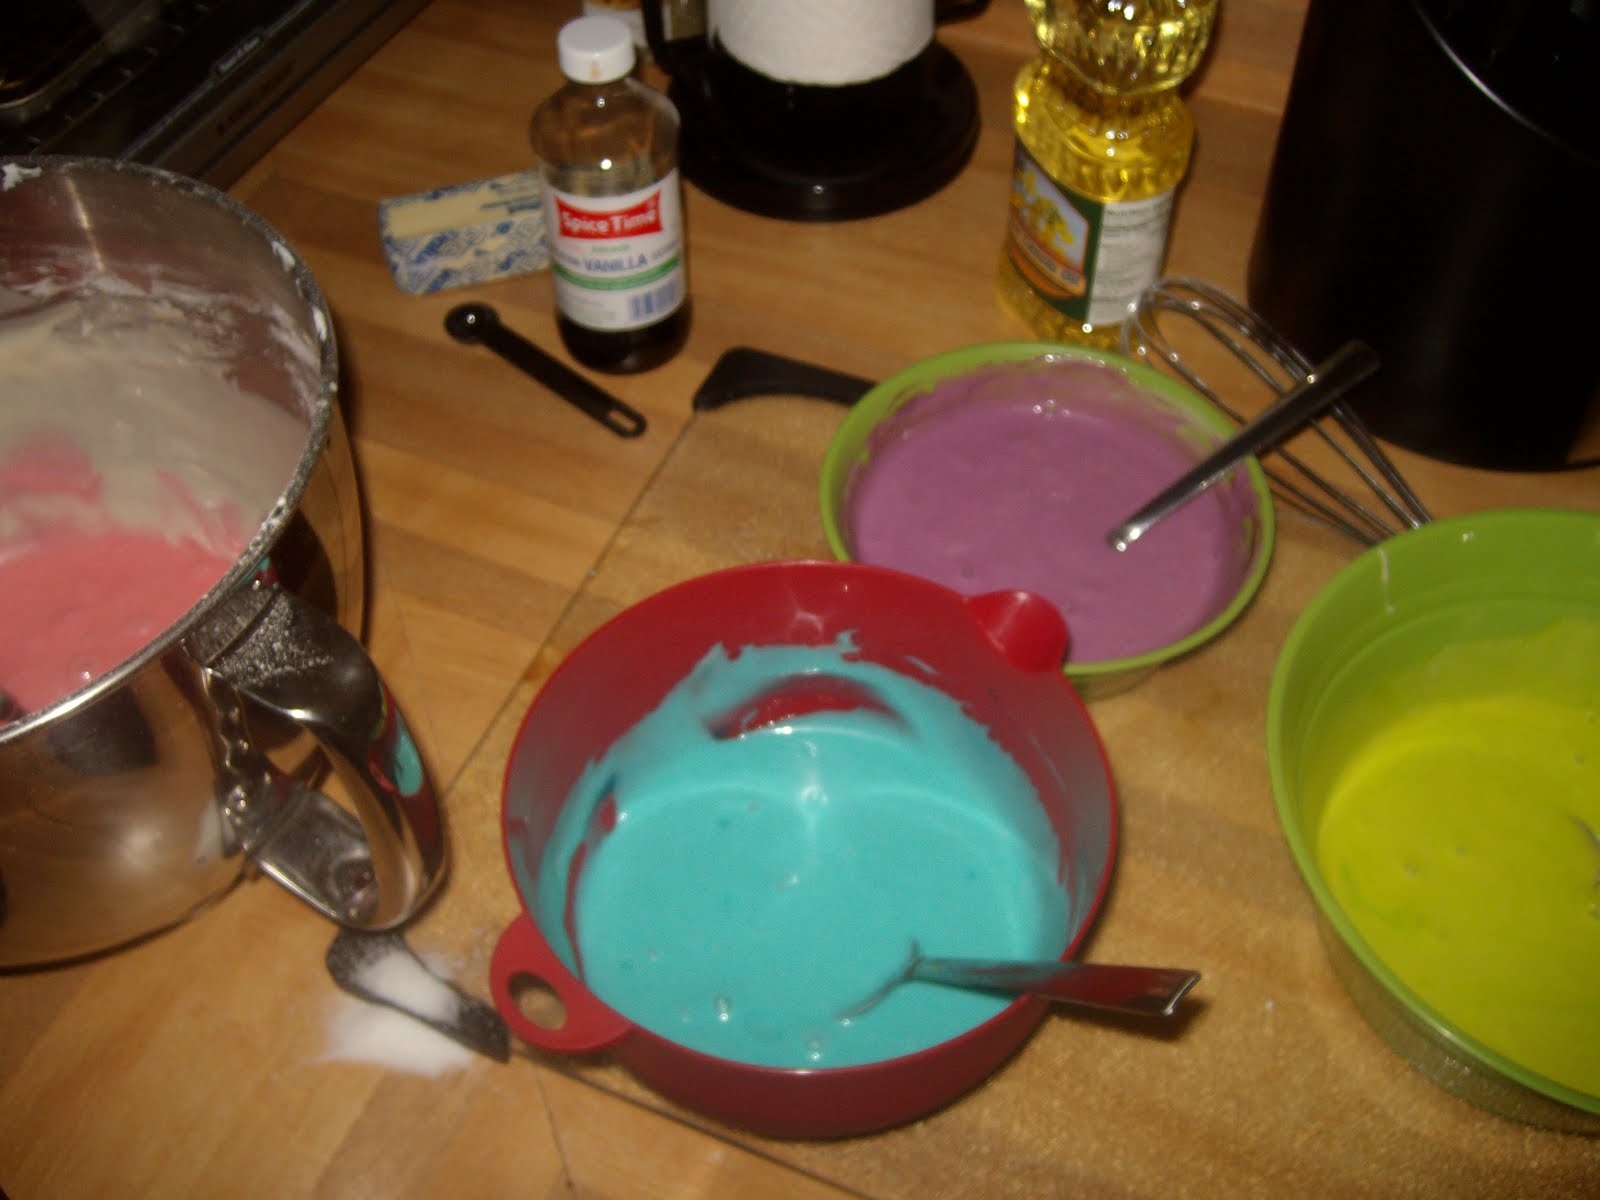
Sift together flour, baking powder, baking soda and salt in a small bowl and set aside. In a mixing bowl, cream butter and sugar until light and fluffy. Add the margarita mix, lime juice, lime zest, strawberry preserves and tequila. Mix on low speed to incorporate. (The batter will look kind of, hmmm, not good? Don't worry, this is ok!) Add in eggs, one at a time, mixing after each one. Add 1/3 of the flour mixture, then 1/2 the milk, and repeat mixing after each addition until just incorporated, ending with the flour mixture.

Divide the batter evenly among the cupcake liners (I know, I know, you know that) and bake for 20 minutes.

For the glaze:
1/2 cup margarita mix
2 tbsp tequila
1/2 cup powdered sugar
red food coloring

Add powdered sugar to a small bowl, whisk in margarita mix and tequila to make a thick liquid glaze. Add a few drops of red food coloring. Poke 4-5 holes in each cooled cupcake with a wooden skewer. Spoon glaze over cupcakes.

For the frosting:
1/2 cup unsalted butter, room temperature
8 oz cream cheese, room temperature
4-6 cups powdered sugar
3 tbsp margarita mix
2 tbsp strawberry preserves
red food coloring

Beat together butter and cream cheese until smooth and creamy (MMMM...) Add margarita mix and strawberry preserves and beat until well incorporated. Add powdered sugar one cup at a time until frosting is desired consistency. Add a few drops of red food coloring. Pipe frosting onto cupcakes. Top with a sliced strawberry, or whatever the heck your feelin!

Ok, so sounds like a pretty decent recipe right? Looks like a pretty good cupcake right?

And this is with the glaze!

Now just looking at these got me all excited to jump right into one, after I frosted them of course. (I didn't get a picture with the frosting on, must have been in a hurry that day )
So i take the first bite and WOW!! Tasted like I took a shot of tequila, I could not believe it!
Now, I never like to say my cooking is horrible but, I would not say these were very good. I was thinking that I shouldn't even drive after eating 1 of these! Yes, they were that tequila'd up!

I still want to try out another margarita cupcake recipe because i do believe that there is one out there that will knock my sock off. Oh well, I'll keep searching! Adios! ;)
Pin It!

Sunday, June 26, 2011

Raspberry Cheesecake Cookies!

I went to Subway the other day and seen that they had some new raspberry cheesecake cookies. Well, I love raspberries, I love cheesecake, and I most definately love cookies so I thought "what the heck Jamie, get one!" If you have not tried one, stop reading, drive to Subway and get one, then come back and keep reading because I cannot describe how awesome these are!

I really wanted to try making my own so I started searching for some recipes. I came across one and tried it out. Mine did not taste anything like Subway's BUT they were still very good! It also just means I have to keep trying right? Here is the recipe that I used:

8 Tbsps unsalted butter softened
1/2 cup packed brown sugar
1/2 cup sugar
1 large egg
3/4 tsp vanilla
1 tbsp heavy cream
1/2 tsp baking soda
1/4 tsp salt plus an extra 1/8 tsp
3 Tbsps cornstarch
1 1/3 cups flour
2/3 cup lightly salted macadamia nuts, barely chopped ( I did not use these)
4-5 ounces white chocolate, cut into chunks (I just used white chocolate chips)
1/2 cup (more or less) fresh raspberries, washed and dried (I could not find fresh raspberries at the time so I bought a frozen bag, this could be one reason why my cookies came out differently)

1. Preheat oven to 375F
2. Cream butter and both sugars with an electric mixer. Beat in eggs, vanilla and cream, then beat in baking soda, salt and cornstarch. Add flour and stir just until blended. Stir in nuts and white chocolate. Drop dough by rounded tablespoons onto a parchment lined baking sheet. ( I had pretty big balls, so my cookies were a bit big)
3. Carefully slice raspberries into halves or quarters - this will vary, depending on how much raspberry you want in your cookies and how large your raspberries are. Gently press pieces of raspberry in cookie dough rounds.  (With the frozen raspberries, I just mixed them right into the dough)
4. Bake for 12-13 minutes. Transfer to a wire rack to cool.

With the changes that I made to the recipe, my cookies came out very, well, like a muffin top kinda? They were very soft! The pictures will show you how much raspberries I used too! Maybe I went a little overboard but I couldn't help it, I have a weakness for them..

This picture makes me want one right now! But as you can see, the dough is even a little pink which is because I mixed the frozen raspberries in. (Note that I did rinse and pat dry the raspberries before putting them in)

Well, that is my raspberry cheesecake cookie. If anyone has a good recipe for these, I'd really like to hear it! (Then make it, then eat it ;) )
Pin It!

Boston Cream Pie, oh my!

I have never tasted a Boston cream pie before so when i came across a recipe for Boston cream pie cupcakes I really wanted to make them! I used 2 different recipes to make these actually. The recipe for the cream filling I used was from gracessweetlife.com and the cupcake recipe was from willcookforsmiles.com. Both just wonderful sites to check out! :)

The cupcakes are pretty much a recipe for your basic vanilla cupcake, then comes the good stuff...

For the filling you will need:
  • 1/2 cup sugar
  • 1/4 cup all-purpose flour
  • 1/4 teaspoon salt
  • 2 eggs
  • 1 1/2 cups whole or 2% milk
  • 1 teaspoon pure vanilla extract
Now what you will do is:

Stir sugar with flour and salt.  
Lightly whisk eggs in a large saucepan; stir in sugar mixture until throughly combined.  
Slowly stir in milk, making sure to incorporate mixture at edges of bottom.  
Place over medium heat.  Stirring constantly, bring just to a boil.  (I think I took mine off a little too early because when I piped the cream into the cupcakes, it was not very thick which made it a little messy, but still delicious!)
Remove from heat; stir in vanilla.  
Place a piece of plastic wrap or buttered waxed paper directly on surface of cream.
Cool to lukewarm.

Now, once you have them all cooked up, you will want to let them cool a little bit, but you also will want to pipe in the cream before they are fully cooled. Half of mine ended up perfect, and half, well....I got a little carried away with the cream.


This is perfect...


And this is a little carried away :)
 I just wiped off the excess cream when this happened. No biggie! Next came the ganache.
We know that this is heavy cream and chocolate so lets get started!  The recipe I used said to spoon the ganache on top, but I found it a lot easier to just dip and twirl!

A couple of them got a little messy, but that just means you did a good job!
Well, lets take a look at the inside shall we?


mmmmmm....thats all I can say!
For a cupcake that does not have loads of frosting, these were very delicious!

If you have never tried a Boston Cream Pie, go ahead, try it ;)
Pin It!

Monday, June 6, 2011

Grab some milk, it's time for Peanut Butter!

I am a big peanut butter fan, as well as live with one so I knew that I had to make a peanut butter cupcake.

One of the top ingredients I had to get yet to make these (besides cute little miniature reeses cups to put on top) was milk. Hello, you want to be able to swallow the things right?!

I picked out a moist chocolate cupcake (one that included sour cream in the recipe) and made a peanut butter buttercream frosting to swirl on top. Also, topped it with some drizzled hot fudge and a miniature reeses.

Frosting was a bit thick at first, but just kept adding milk to smooth it out. (Pictures bad, but still wanted to share).

Here they are before they got "dressed".


Drizzled hot fudge makes them extra delicious.


And a top view :)


Mouth watering yet?

Can you tell I was pretty proud of these?
I don't know if the decorating or eating was more fun. You give it a try and tell me :)
Pin It!

Saturday, June 4, 2011

Cherry Chip Bud Light, Alright!

What's better than a cold beer on a summer day? Well, a cold beer in a cupcake of course! I did a bit of experimenting the other day. I really wanted to make a good cherry chip cupcake, but could not for the life of me find a recipe out there so when I was looking through my "Beer Lover's" cookbook and found a recipe for a cherry cake I was like "ALRIGHT!"

The recipe was as follows:

4 eggs
2 cups sugar
2 teaspoons vanilla extract
2 cups sifted all-purpose flour
2 teaspoons baking powder
1/4 teaspoon salt
1 cup beer
2 tablespoons butter, melted
1 cup maraschino cherries

Preheat oven to 375 degrees. In a medium bowl, beat the eggs until they are thickened. Beat in the sugar. Add the vanilla, mixing well. Fold the flour, baking powder, and salt into the egg mixture.

In a saucepan, heat the beer. Add the beer and butter to the batter. Line a greased tube pan with the maraschino cherries. Pour the batter into the tube pan.

Bake at 375 for 30 minutes. Remove the cake from the tube pan and place it on a rack to cool. Top the cake with more maraschino cherries or your favorite frosting.

Ok, since I was not making a cake, and cupcakes instead I switched things up a bit. First off, I preheated my oven to 350 instead. I also chopped up my maraschino cherries and folded them into the batter. My batter was pretty runny which caused the cherries all to sink to the bottom. If I had to redo it, I would have chopped them up a lot finer and maybe not have had my beer as hot as I did.

Well, they didn't turn out horrible and everyone who tried one actually really enjoyed them! They were a bit heavier cupcake and I topped mine with a vanilla frosting. I'll let you see how they look!


Hmmm, there seems to be one missing...Who could have done that? :)

Ta-Da!
I encourage you to mess around with the recipe yourself and see if you can make a cherry chip cupcake!

Oh yeah, I used Bud Light, maybe I need to try it with all my favorite beer!?
Pin It!

Thursday, June 2, 2011

Back Again!

I've been a bit absent lately, but I have a good excuse, I swear! Over Memorial Day weekend I went out and got a puppy! It's hard to bake when you got a little one running around your feet and with the potty training, it's almost impossible to keep your eye on both. I think the break from baking is worth it...
Don't you agree!?

Ok, so back to business here, I'll let ya take a look at what I did before this little guy came around :)

Tie-dye Cupcakes!

I seen a blog where cupcakes were multi colored and since I used to be a tie-dye freak, I loved it! Obviously I had to try it myself right?

I chose just a basic yellow cupcake recipe and divided the batter into 4 different bowls. I like bright colors so I picked up some neon food coloring and used all 4 neon colors in my batter.

Look at all the pretty COLORS!!!!

The next step was loading up the muffin tins. I pretty much just mixed and matched different colors, or put all 4 in the same one! Take a peek..
Pretty cool huh!? I almost think that next time I would make about 8 different colors and see how 'groovy' I can make them!

I baked these puppies up (still have puppy on the brain) and they came out pretty rad!


I almost couldn't believe how much I liked these!
They were just, perfect!

Take a look at these layers

And theres my tie-dye cupcakes for you! :)
Now if they only had a recipe for potty training, I'd cook it right up!
Pin It!